Getting Started with Analytics
Regardless of your specific goals for online video, understanding your audience is a key to developing a successful video strategy. The better you understand your viewers, the easier it is to create content that will engage them.
The Analytics module offers fast, close to real-time access to analytics data about your videos. Various views are available and can be used to get analytics about your videos. Using these views, you can generate up-to-date reports about video views, play rates and completion rates for your videos.
To view the Analytics page:
- Login to Marketing Studio.
- In the primary navigation, click Analytics.
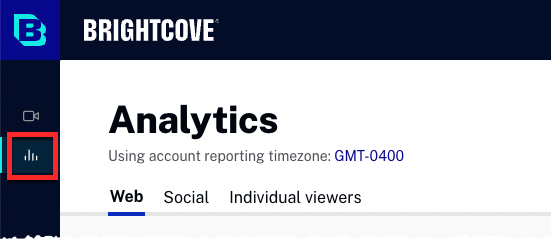
Tabs across the tops of the page provide access to the different types of analytics that are available:
- Web - The web analytics page includes analytics for videos that were published using a Brightcove Player. For information, see Reviewing Web Analytics.
- Social - The social analytics page includes analytics for videos that were published out to social media sites. For information, see Reviewing Social Analytics.
- Individual viewers - The individual viewers page includes video analytics for individual viewers. For information, see Reviewing Individual Viewers Analytics.
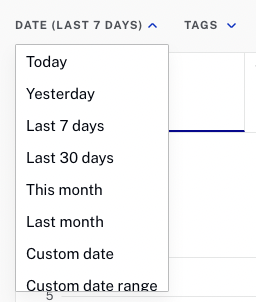
Selecting a time span
Use the DATE selector dropdown at the top of the page to specify the time period for the report. Note that when a single day is selected, the report graphs will display by hour.
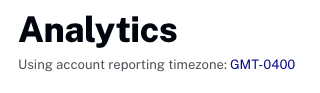
Reporting time zone
Data in the Analytics module is shown using the account's reporting time zone. The time zone is displayed at the top of the page.
The reporting time zone is used to calculate day boundaries for reporting data. Changing the reporting time zone setting only affects data going forward, and changes are not applied retroactively. If you change this setting, you may see a flat spot or a spike in your data when looking at day boundaries where the change was applied. Updates to this setting may not take effect immediately, and analytics data may continue to refer to the old setting until the system processes the changes.
The reporting time zone is configured as part of the Video Cloud account settings. For information on changing the reporting time zone, see Managing Account Settings.
Filtering data
Filters can be applied to limit the analytics data that is shown. Filters appear to the right of the date selector.
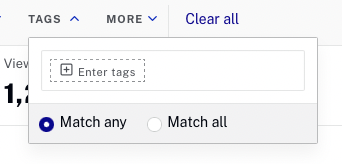
Filtering on tags
To filter based upon video tag, follow these steps:
- Click the TAGS dropdown.
- Enter one or more tags to filter on and press enter.
- Select a condition:
- Match any - Videos with any of the tags will be included
- Match all - Videos with all of the tags will be included
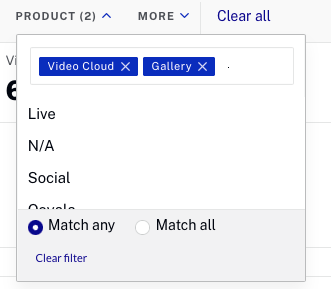
Filtering on custom fields
To filter based upon video custom fields, follow these steps:
- Click the MORE dropdown.
- Click on a custom field.
- For list type custom fields, click on one or more values to select them.
- Select a condition:
- Match any - Videos with any of the selected custom fields will be included
- Match all - Videos with all of the selected custom fields will be included
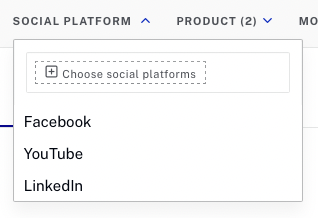
Filtering on social platform
When viewing the social analytics it's possible to filter based upon the social platform the videos were published to. To filter based upon the social platform, follow these steps:
- Click the SOCIAL PLATFORM dropdown.
- Click on one or more social platform.